
Coffee is the lifeblood of many people’s mornings, and having a coffee maker on-hand can make it that much easier for you to get your java fix quickly and without hassle. However, like with any kitchen appliance — even those as small as a coffee maker– regular cleaning and maintenance must be done in order to keep it running properly. In this blog post, we’ll outline step-by-step instructions on how to clean your Black & Decker Coffee Maker so that you can start off each day right! We will walk through all the necessary steps you need to take in order to give your machine a thorough scrubbing while still keeping it safe from damage. Keep reading if you want some tips about the best materials and practices for making sure your Black & Decker Coffee Maker stays spotless season after season!
To ensure safety, unplug the machine before cleaning.
When it comes to keeping our machines clean and in good working condition, there’s a simple step we should all remember to take: unplug them! This may seem like a no-brainer, but it’s worth emphasizing just how important it is to disconnect electrical devices from their power source before cleaning them. Not only does this reduce the risk of electrocution and electrical fires, it also ensures that the cleaning process is more thorough, as it allows us to reach every nook and cranny without fear of getting shocked. Make sure to unplug your dependable device before cleaning it to provide yourself peace of mind.
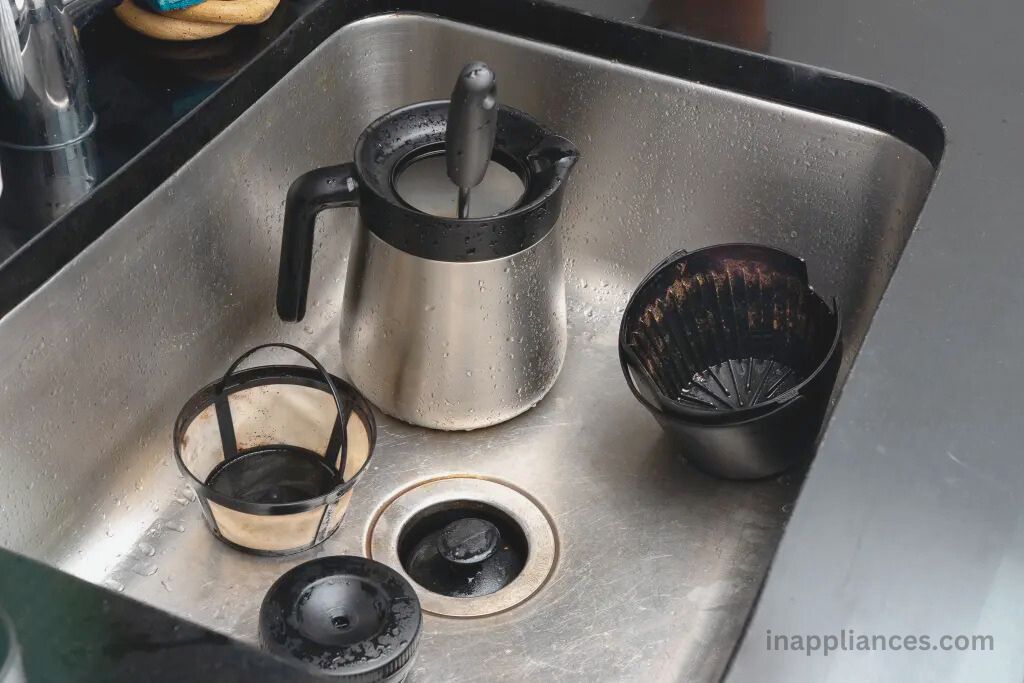
Empty any leftover coffee grounds from the coffee pot and rinse it out
Making coffee is a daily routine for many of us. Clean out the coffee pot before brewing a new batch is the best way to ensure a fresh pot of coffee. However, it’s also important to empty any leftover coffee grounds from the pot and rinse it out thoroughly. Coffee grounds can become stale and contribute to an off-flavor in your next cup of coffee. Additionally, allowing leftover grounds to sit in your pot can lead to bacterial growth and a buildup of coffee oils that can be difficult to remove. Therefore, keep in mind to drain and clean out your coffee pot the next time you’re brewing a pot.
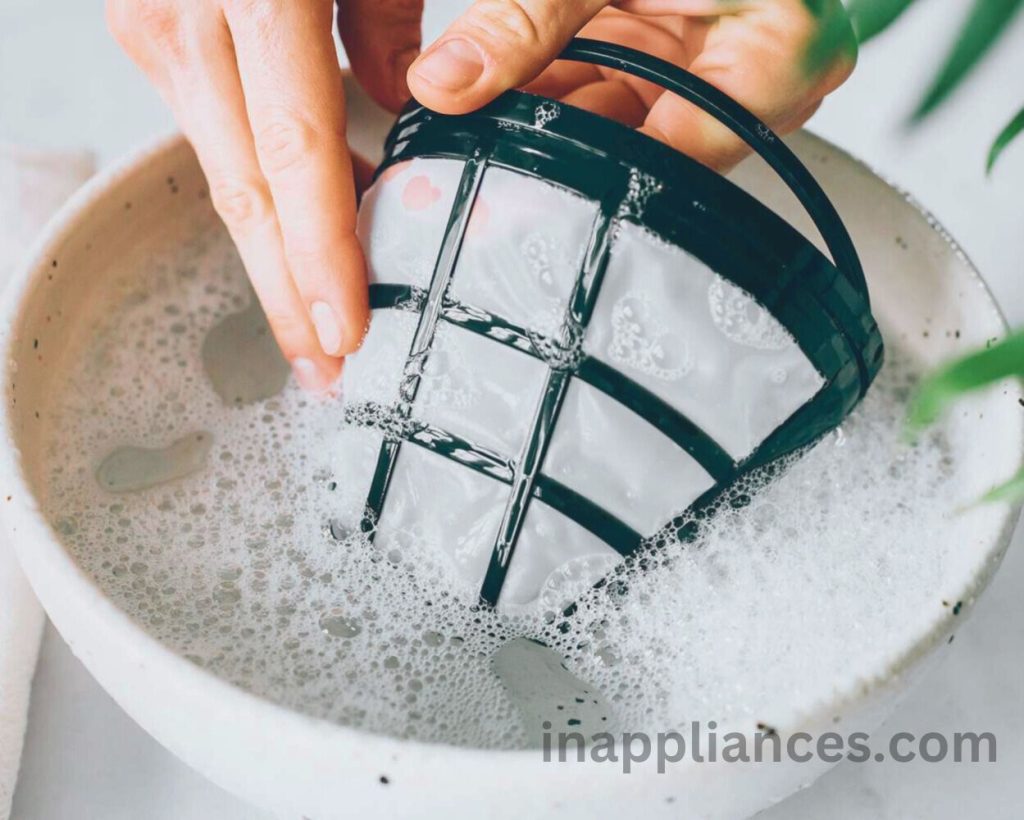
Clean the basket filter with a damp cloth or paper towel and discard any used grounds
When it comes to enjoying a fresh cup of coffee, cleaning the basket filter is an important step that is often overlooked. To keep your coffee tasting its best, it’s important to clean the basket filter regularly. Thankfully, it’s a quick and easy process. Grab a damp cloth or paper towel and wipe down the filter, ensuring all the used grounds have been cleared away. By taking the time to clean your basket filter, you’ll be rewarded with a cleaner, fresher cup of coffee every time.
Remove the carafe lid and wash all removable parts in warm, soapy water
Your best bet for cleaning your carafe lid and other removable pieces is to use warm, soapy water. With this simple cleaning solution, you can effectively wash away any residue or build-up that may have accumulated over time. Make sure to remove the carafe lid and any other relevant parts before washing them thoroughly. By taking these steps, you can keep your machine in tip-top shape and ensure that your next cup of coffee tastes just as delicious as the first.
Wipe down all surfaces of the coffee maker with a damp cloth, including buttons and knobs
When it comes to cleaning your coffee maker, it’s important to be thorough. To eliminate any residual residue or build up, wipe down all surfaces of the machine using a moist cloth. This includes buttons and knobs, which can often be overlooked during the cleaning process. You can prolong the life of your coffee maker and preserve the standard of your daily brew by taking the time to wash out every surface. So, the next time you’re cleaning your machine, be sure to give every inch the attention it deserves.
Scrub difficult-to-reach spots with a cotton swab.
Many people are ready to give up or use unconventional techniques while trying to clean small and difficult-to-reach locations. However, there is a simple solution that you may already have in your medicine cabinet: a cotton swab. These tiny tools are ideal for cleaning small spaces. Such as the nooks and crannies of electronics or intricate jewelry designs. They can also be used to apply and remove makeup around the eyes and mouth. Additionally, since cotton swabs are disposable, they are a convenient and hygienic option. Next time you’re faced with a hard-to-reach cleaning task, don’t hesitate to reach for a cotton swab.
Conclusion
With these easy-to-follow steps, you too can have a perfectly clean and safe Black and Decker coffee maker. From rinsing out the coffee pot to removing carafe lids. This process is one that will take no more than 20 minutes if done thoroughly. Remember to unplug the machine first for safety reasons and take your time cleaning every area of the espresso maker. Once complete, your coffee maker will be ready to brew you those delicious morning cups of joe!
FAQs
A: You can use a damp cloth or paper towel for most of the surfaces. But be sure to also use a cotton swab for hard-to-reach areas.
A: Yes, it is important to empty any leftover grounds from the pot and rinse it out thoroughly. This will help keep your coffee tasting fresh and free of bacteria or build up.
A: It’s best to give your coffee maker a thorough cleaning at least once a month. Doing so will not only maintain the quality of your coffee but also extend the life of your machine.
A: No, it is not recommended to use harsh chemicals when cleaning your espresso maker. Stick with warm and soapy water for the best results.